The steps below were successfully reproduced on Ubuntu 20.04 and 22.04. If you want to try them on other Debian-based systems, you may need to verify compatibility yourself.
Installing Oracle 11g
Downloading the package
Oracle 11g is no longer maintained, and the official download link has been removed, so the installer has to be obtained from a third-party source. After searching around, I found a package shared by another user on Stack Overflow.
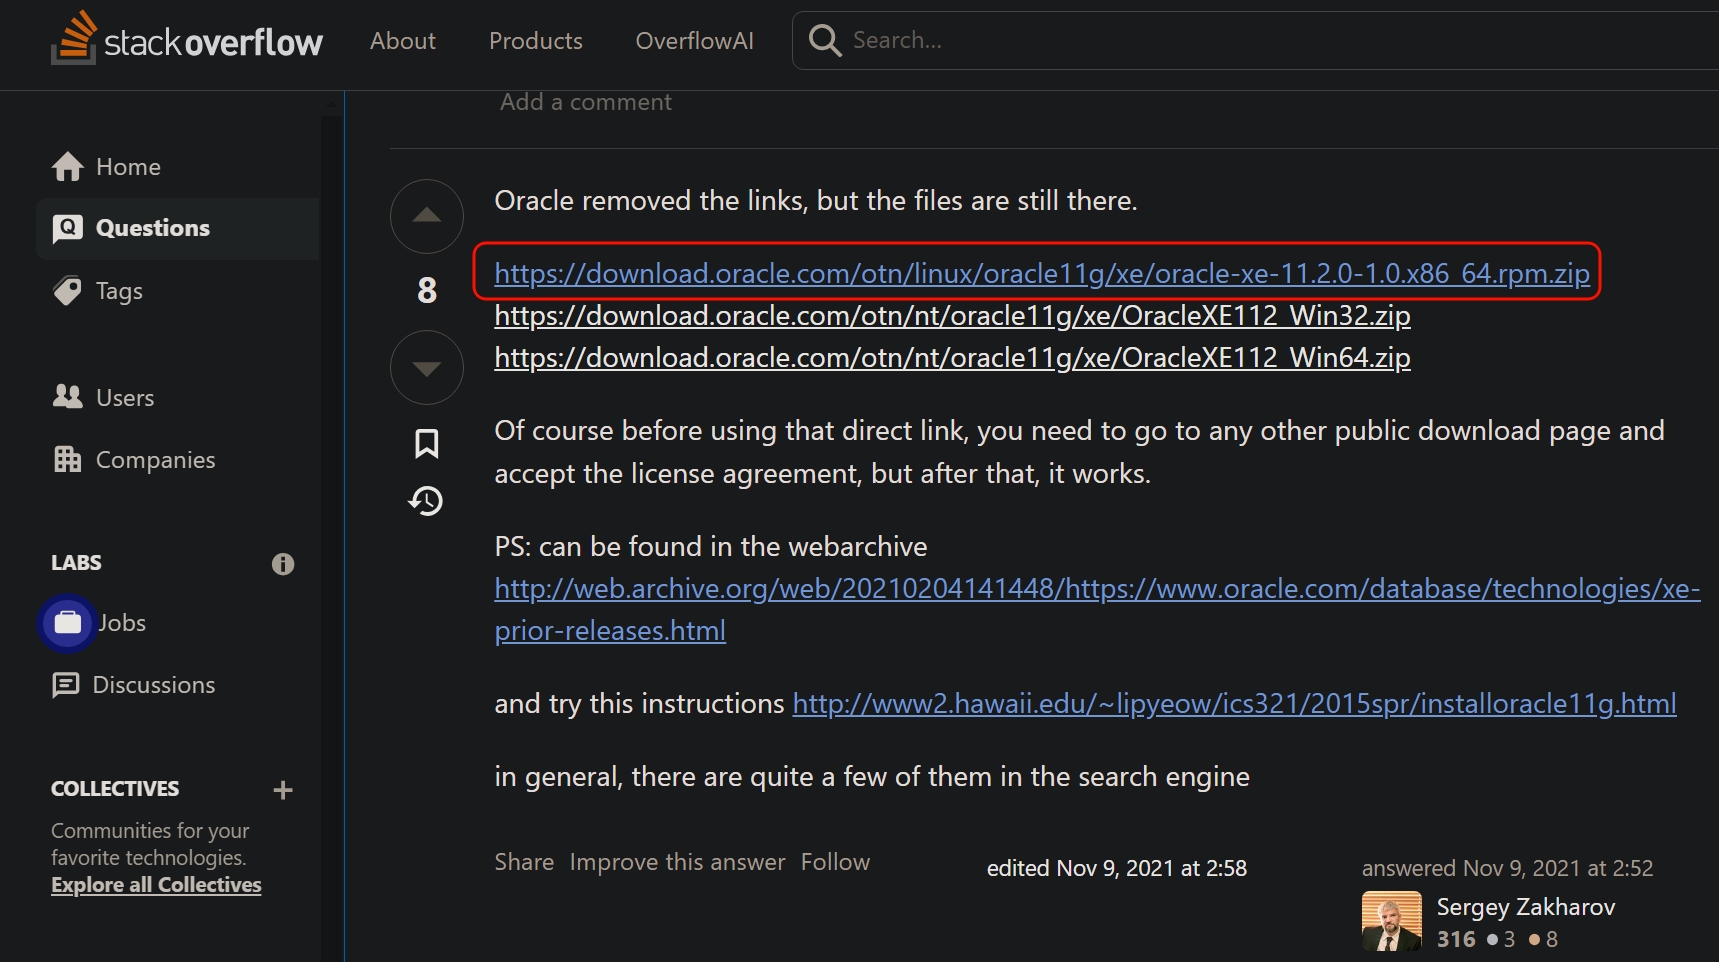
The Oracle 11g R2 XE download link is:
~~https://www.iea-software.com/ftp/emeraldv5/linux/ora/oracle-xe-11.2.0-1.0.x86_64.rpm.zip~~
https://web.archive.org/web/20220401084513if_/http://www.iea-software.com/ftp/emeraldv5/linux/ora/oracle-xe-11.2.0-1.0.x86_64.rpm.zip
This link requires a proxy to access.
Converting the RPM package to DEB
Since I usually work on Ubuntu 22.04 LTS, and Oracle 11g only targets Red Hat–style Linux distributions, the RPM package needs to be converted into a DEB package before installation. The alien tool can do that:
wget https://web.archive.org/web/20220401084513if_/http://www.iea-software.com/ftp/emeraldv5/linux/ora/oracle-xe-11.2.0-1.0.x86_64.rpm.zip # Download the RPM package
unzip oracle-xe-11.2.0-1.0.x86_64.rpm.zip # Extract it
cd Disk1 # Enter the extracted directory
sudo apt install alien # Install the alien conversion tool
sudo alien --scripts -d oracle-xe-11.2.0-1.0.x86_64.rpm # Convert it to a DEB package
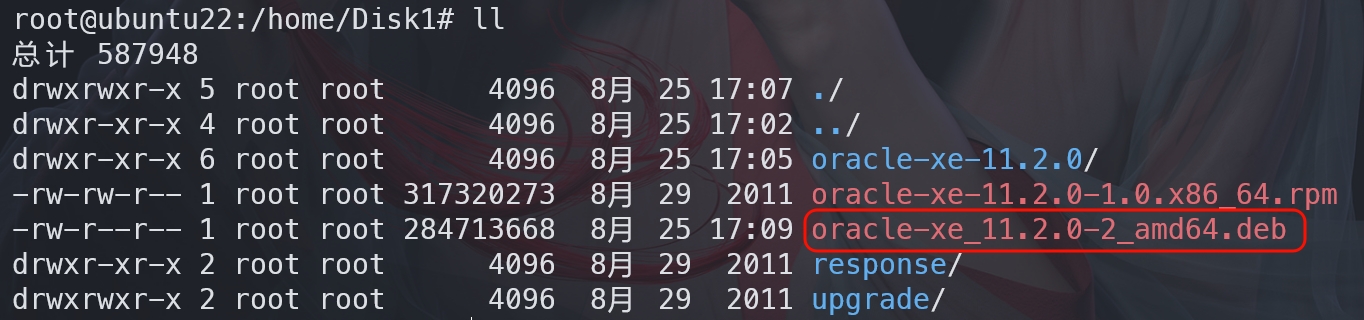
After conversion, the oracle-xe_11.2.0-2_amd64.deb package is generated.
Installing dependencies and setting environment variables
Install the required packages first:
sudo apt install -y libaio1 unixodbc
Then edit /etc/profile with vim and add the following system environment variables:
# Oracle Settings
TMP=/tmp; export TMP
TMPDIR=$TMP; export TMPDIR
ORACLE_BASE=/u01/app/oracle; export ORACLE_BASE
ORACLE_HOME=$ORACLE_BASE/product/11.2.0/xe; export ORACLE_HOME
ORACLE_SID=XE; export ORACLE_SID
ORACLE_TERM=xterm; export ORACLE_TERM
PATH=/usr/sbin:$PATH; export PATH
PATH=$ORACLE_HOME/bin:$PATH; export PATH
TNS_ADMIN=$ORACLE_HOME/network/admin
LD_LIBRARY_PATH=$ORACLE_HOME/lib:/lib:/usr/lib; export LD_LIBRARY_PATH
CLASSPATH=$ORACLE_HOME/jlib:$ORACLE_HOME/rdbms/jlib; export CLASSPATH
if [ $USER = "oracle" ]; then
if [ $SHELL = "/bin/ksh" ]; then
ulimit -p 16384
ulimit -n 65536
else
ulimit -u 16384 -n 65536
fi
fi
Next, add the Oracle 11g service support by editing /sbin/chkconfig with vim and inserting the following:
#!/bin/bash
# Oracle 11gR2 XE installer chkconfig hack for Ubuntu
file=/etc/init.d/oracle-xe
if [[ ! `tail -n1 $file | grep INIT` ]]; then
 echo >> $file
 echo '### BEGIN INIT INFO' >> $file
 echo '# Provides: OracleXE' >> $file
 echo '# Required-Start: $remote_fs $syslog' >> $file
 echo '# Required-Stop: $remote_fs $syslog' >> $file
 echo '# Default-Start: 2 3 4 5' >> $file
 echo '# Default-Stop: 0 1 6' >> $file
 echo '# Short-Description: Oracle 11g Express Edition' >> $file
 echo '### END INIT INFO' >> $file
fi
update-rc.d oracle-xe defaults 80 01
Set the permissions:
sudo chmod 755 /sbin/chkconfig
Oracle 11g also needs a few kernel parameters to be set for installation and runtime:
sudo sh -c 'cat >> /etc/sysctl.d/60-oracle.conf << EOF
# Oracle 11g XE kernel parameters
fs.file-max=6815744
net.ipv4.ip_local_port_range=9000 65000
kernel.sem=250 32000 100 128
kernel.shmmax=536870912
EOF'
sudo service procps start # Load the new kernel parameters
sudo sysctl -q fs.file-max # Verify whether fs.file-max was loaded successfully
To provide a shared memory mount point, edit /etc/rc2.d/S01shm_load with vim and add this script:
#!/bin/sh
case "$1" in
start)
 mkdir /var/lock/subsys 2>/dev/null
 touch /var/lock/subsys/listener
 rm /dev/shm 2>/dev/null
 mkdir /dev/shm 2>/dev/null
 mount -t tmpfs shmfs -o size=2048m /dev/shm
;;
*)
 echo error
 exit 1
;;
esac
Set the permissions and reboot the system so the changes take effect:
sudo chmod 755 /etc/rc2.d/S01shm_load
reboot
Installing Oracle 11g
Install Oracle 11g with:
sudo apt install ./oracle-xe_11.2.0-2_amd64.deb

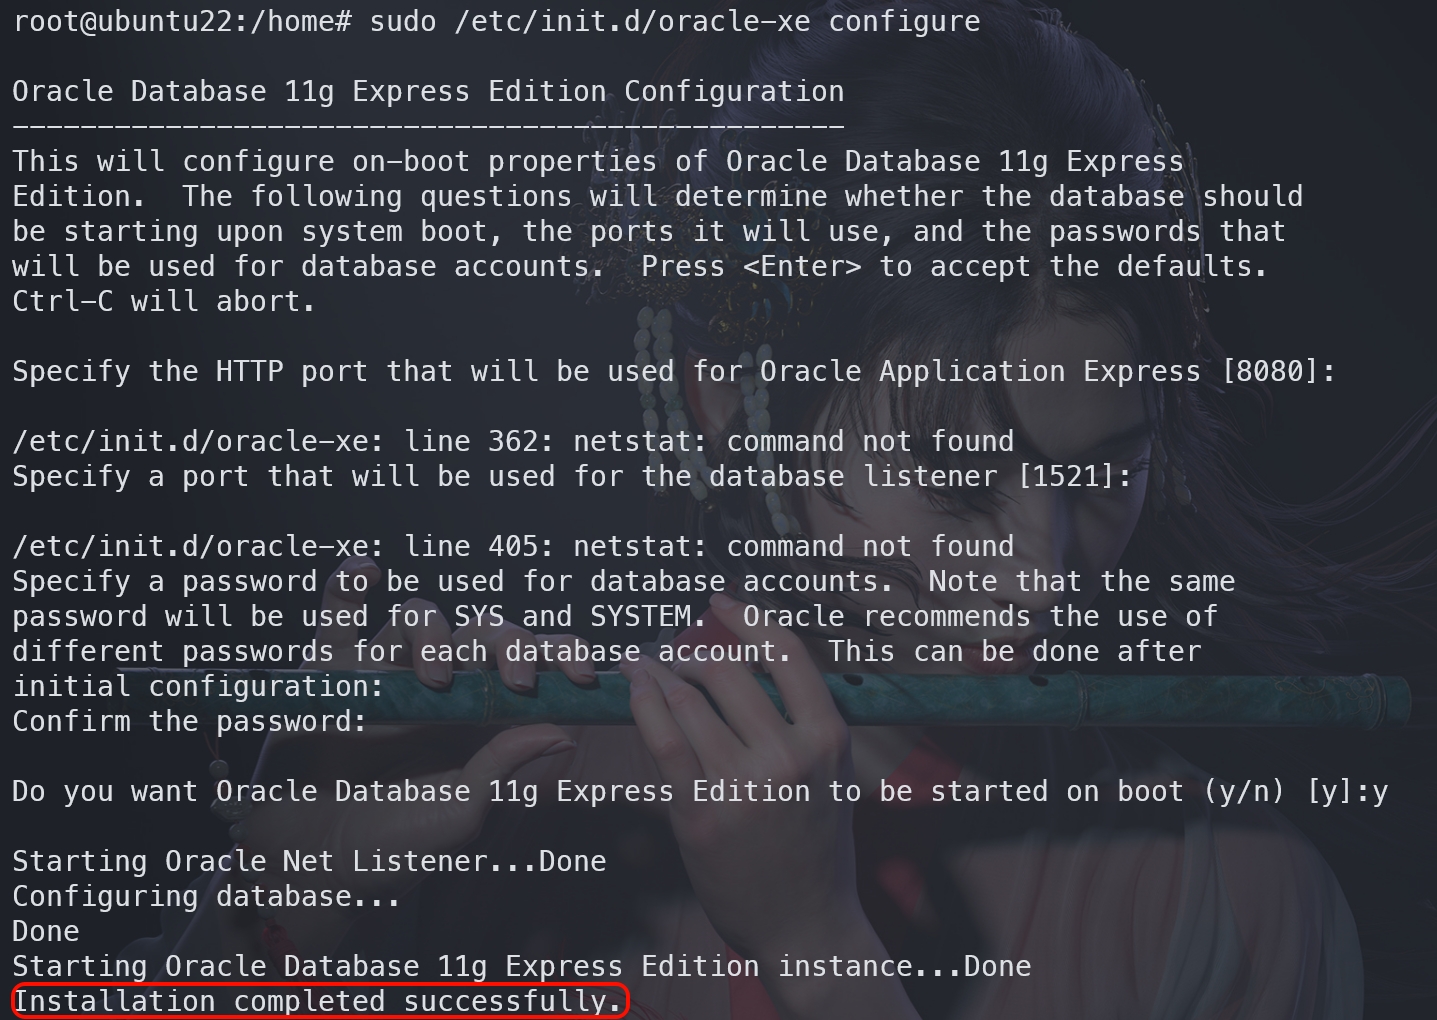
Run the initial Oracle 11g configuration:
sudo /etc/init.d/oracle-xe configure
If you need to change the initial setup information, run the following in order:
sudo systemctl stop oracle-xe,sudo rm /etc/default/oracle-xe,sudo /etc/init.d/oracle-xe configure
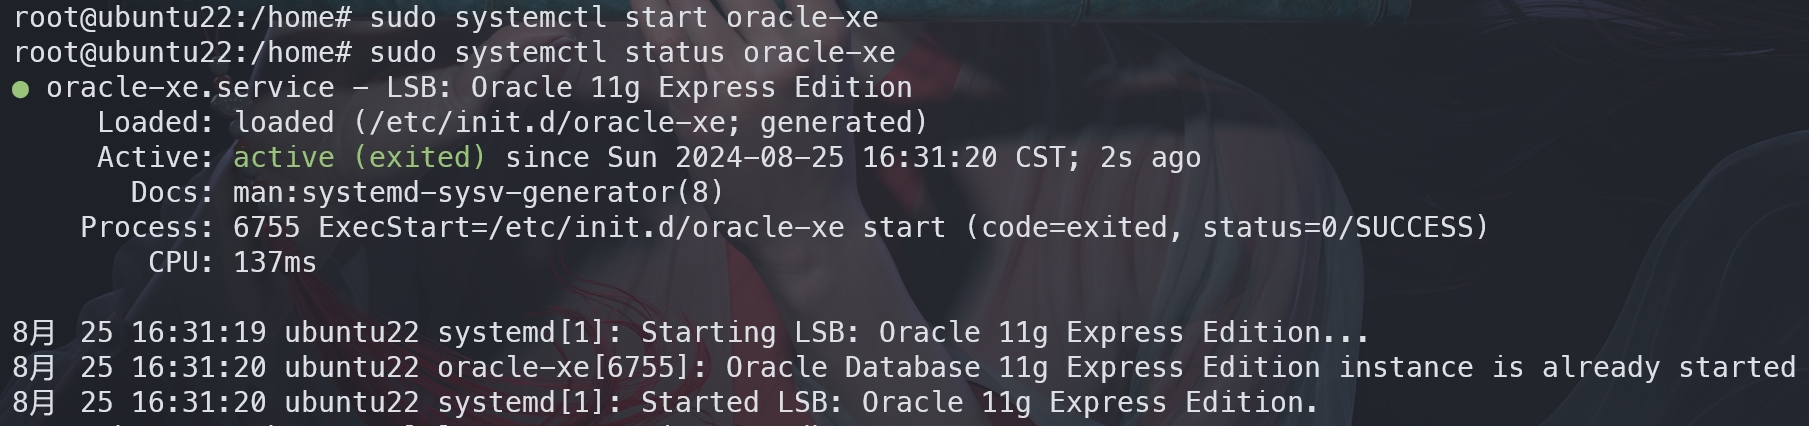
Start Oracle 11g and check its status:
sudo systemctl start oracle-xe # Start the service
sudo systemctl status oracle-xe # Check the running status
Testing Oracle 11g
Connecting to Oracle 11g
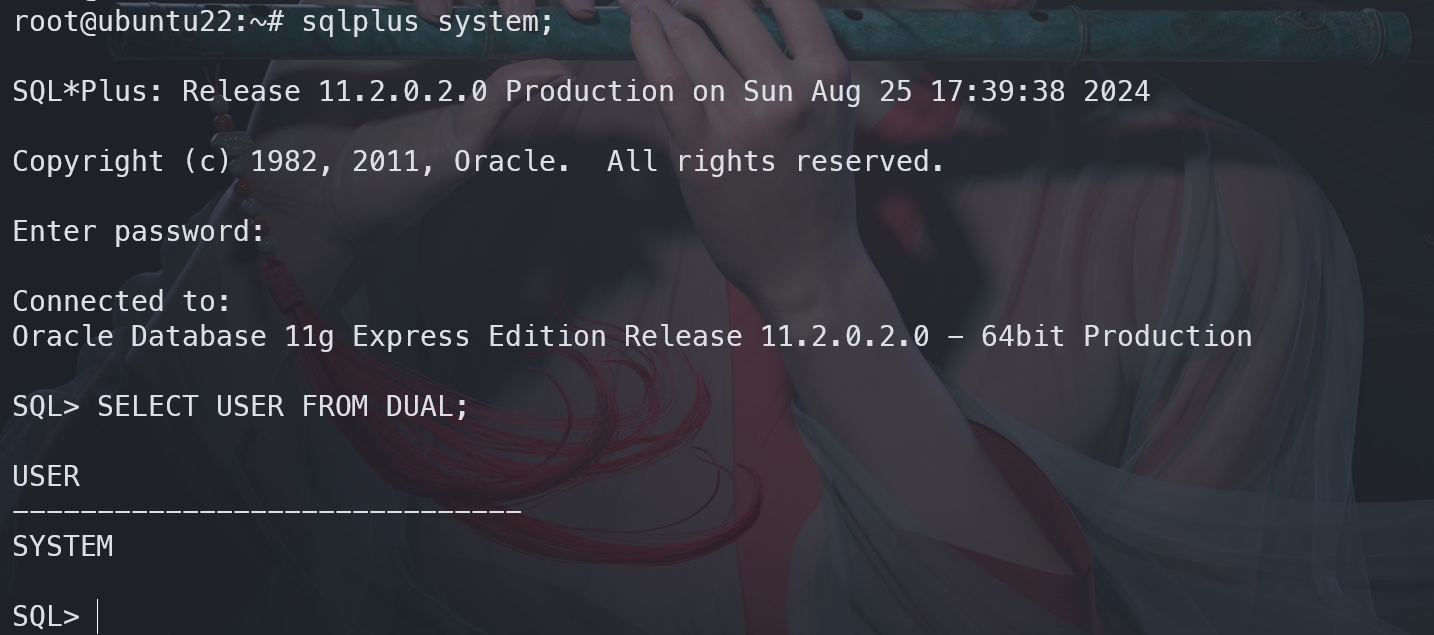
Use SQL*Plus to connect to the database as the system user:
sqlplus system # Connect as the system user
If
sqlplusis reported as not found, runexport ORACLE_HOME=/u01/app/oracle/product/11.2.0/xe, thenexport PATH=$ORACLE_HOME/bin:$PATH, and trysqlplus systemagain.
CRUD operations
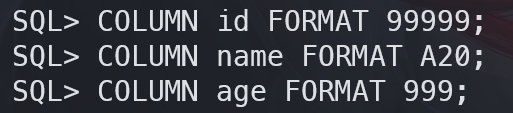
Before doing CRUD tests, you can adjust SQL*Plus column formatting so the output is easier to read:
COLUMN id FORMAT 99999; -- Format the id column to at most 5 digits
COLUMN name FORMAT A20; -- Format the name column to 20 characters
COLUMN age FORMAT 999; -- Format the age column to at most 3 digits
Creating a table
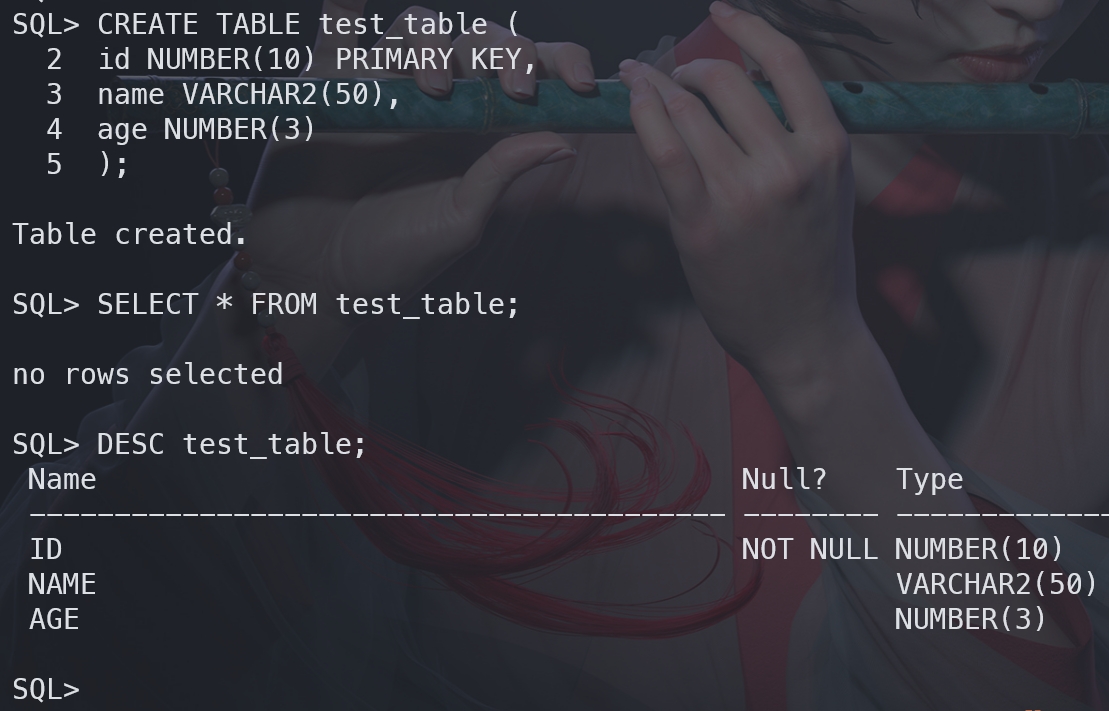
In Oracle, you do not need to create a database in advance before creating a table.
CREATE TABLE test_table (
  id NUMBER(10) PRIMARY KEY, -- Primary key, unique identifier
  name VARCHAR2(50), -- Name field, up to 50 characters
  age NUMBER(3) -- Age field, up to 3 digits
);
DESC test_table; -- View the table structure
Inserting data
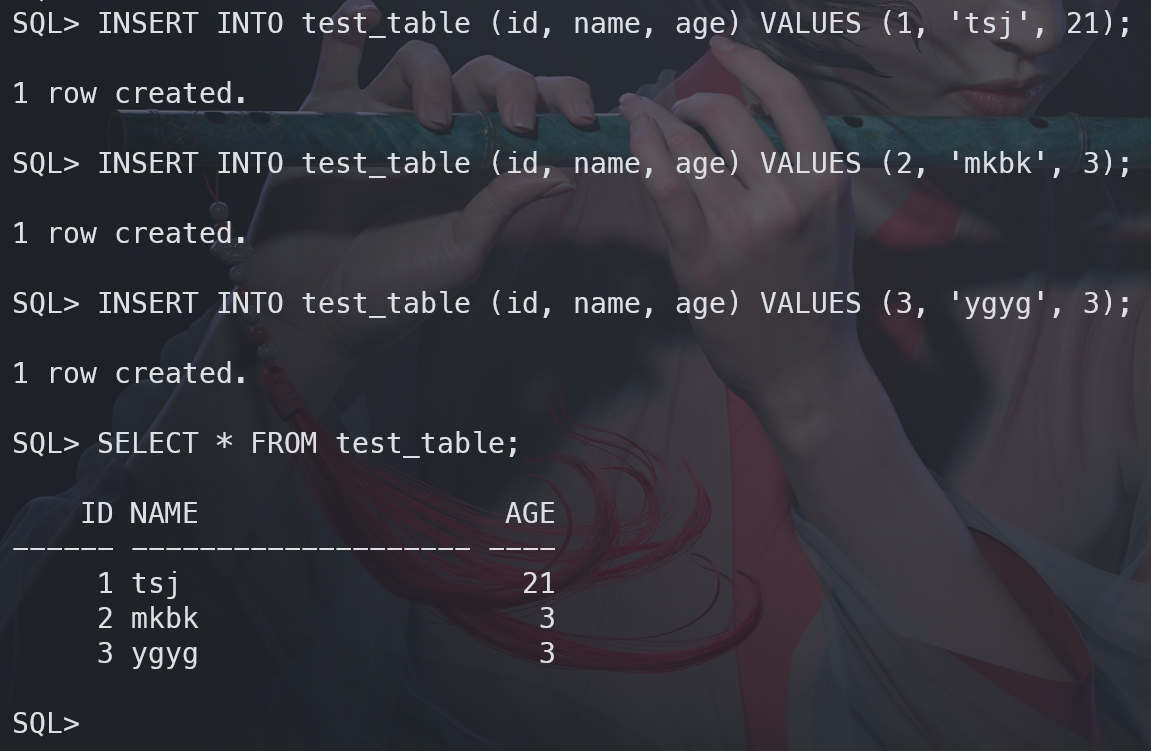
INSERT INTO test_table (id, name, age) VALUES (1, 'tsj', 21); -- Insert the first record
INSERT INTO test_table (id, name, age) VALUES (2, 'mkbk', 3); -- Insert the second record
INSERT INTO test_table (id, name, age) VALUES (3, 'ygyg', 3); -- Insert the third record
SELECT * FROM test_table; -- View table data
Updating data
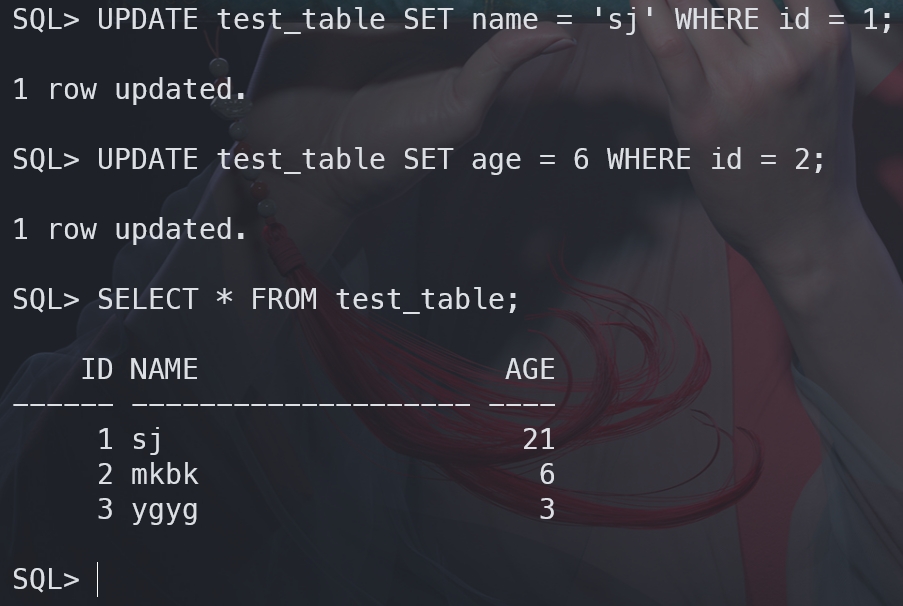
UPDATE test_table SET name = 'sj' WHERE id = 1; -- Update the record with id 1 and change the name
UPDATE test_table SET age = 6 WHERE id = 2; -- Update the record with id 2 and change the age
SELECT * FROM test_table; -- View the updated table data
Deleting data
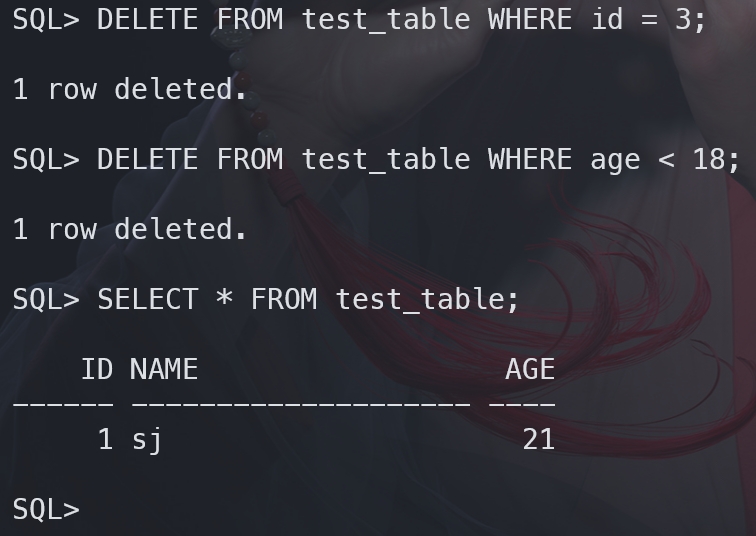
DELETE FROM test_table WHERE id = 3; -- Delete the record with id 3
DELETE FROM test_table WHERE age < 18; -- Delete all records with age under 18
SELECT * FROM test_table; -- View the updated table data
Querying data
Query all records:
-- Insert test data
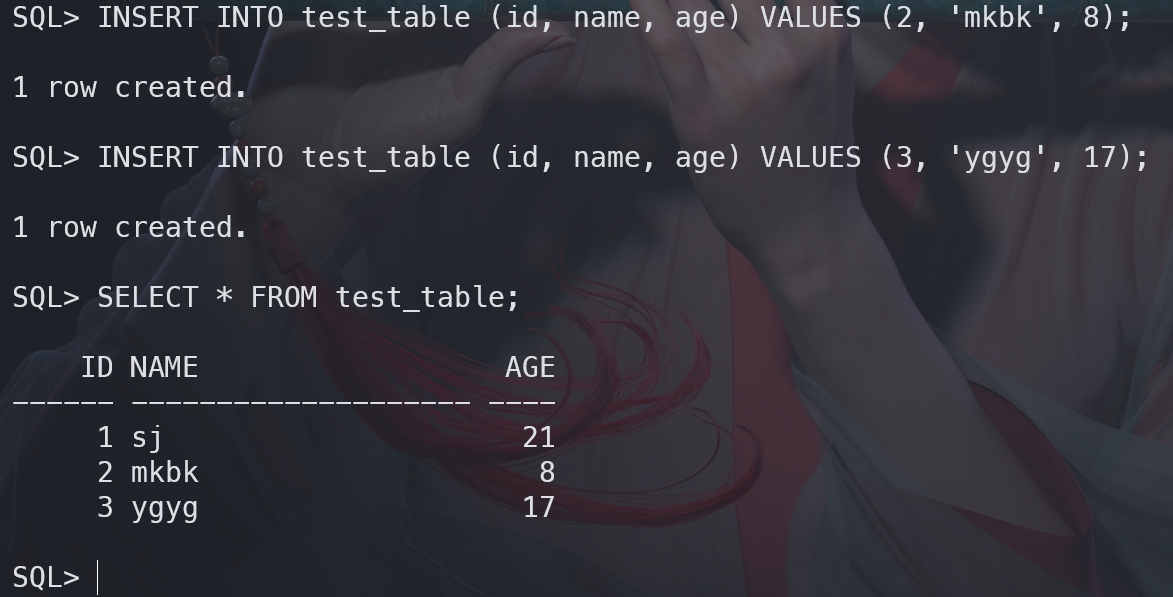
INSERT INTO test_table (id, name, age) VALUES (2, 'mkbk', 8);
INSERT INTO test_table (id, name, age) VALUES (3, 'ygyg', 17);
-- Query all records
SELECT * FROM test_table;
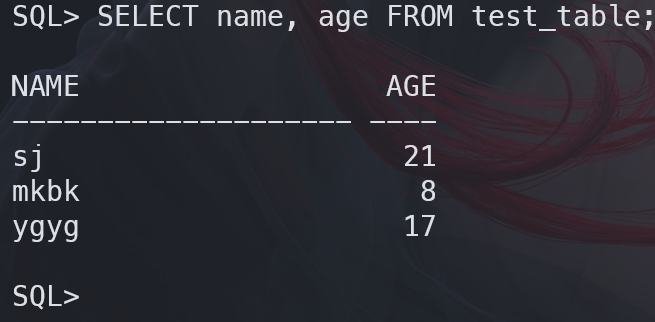
Query specific fields:
SELECT name, age FROM test_table; -- Query only the age field
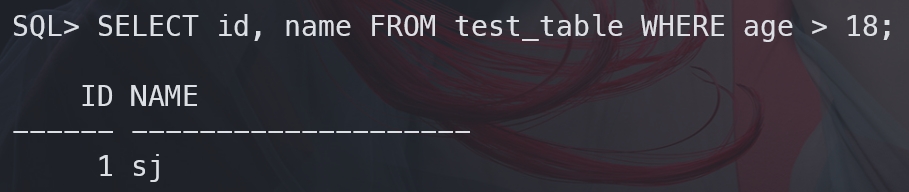
Filter with conditions:
SELECT id, name FROM test_table WHERE age > 18; -- Filter results with age greater than 18
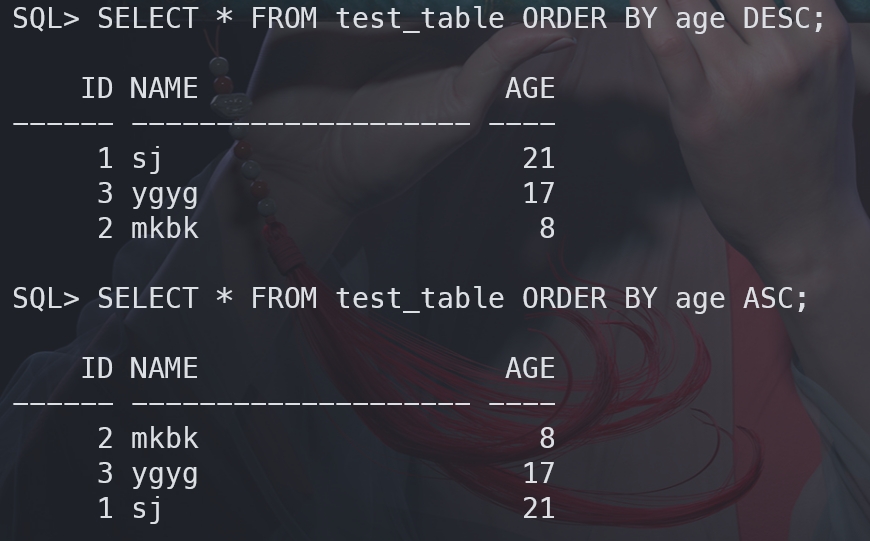
Sort query results:
SELECT * FROM test_table ORDER BY age DESC; -- Sort by age in descending order
SELECT * FROM test_table ORDER BY age ASC; -- Sort by age in ascending order
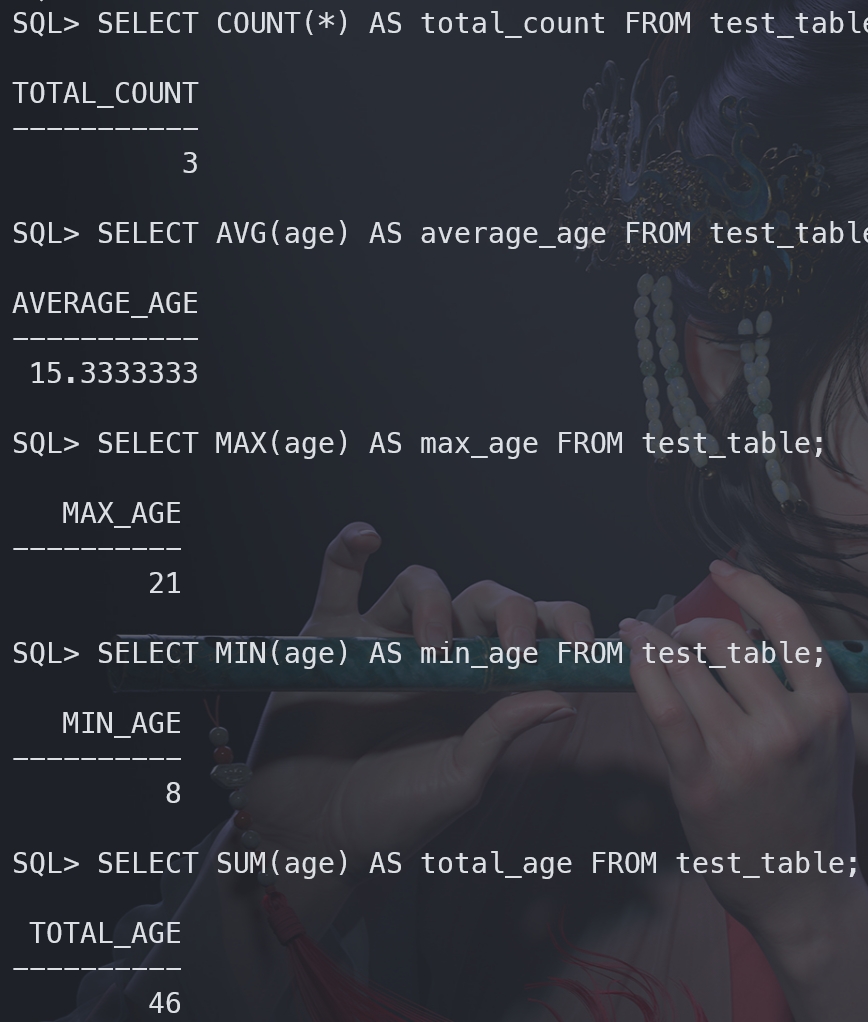
Use functions in queries:
SELECT COUNT(*) AS total_count FROM test_table; -- Total number of records
SELECT AVG(age) AS average_age FROM test_table; -- Average age
SELECT MAX(age) AS max_age FROM test_table; -- Maximum age
SELECT MIN(age) AS min_age FROM test_table; -- Minimum age
SELECT SUM(age) AS total_age FROM test_table; -- Sum of ages
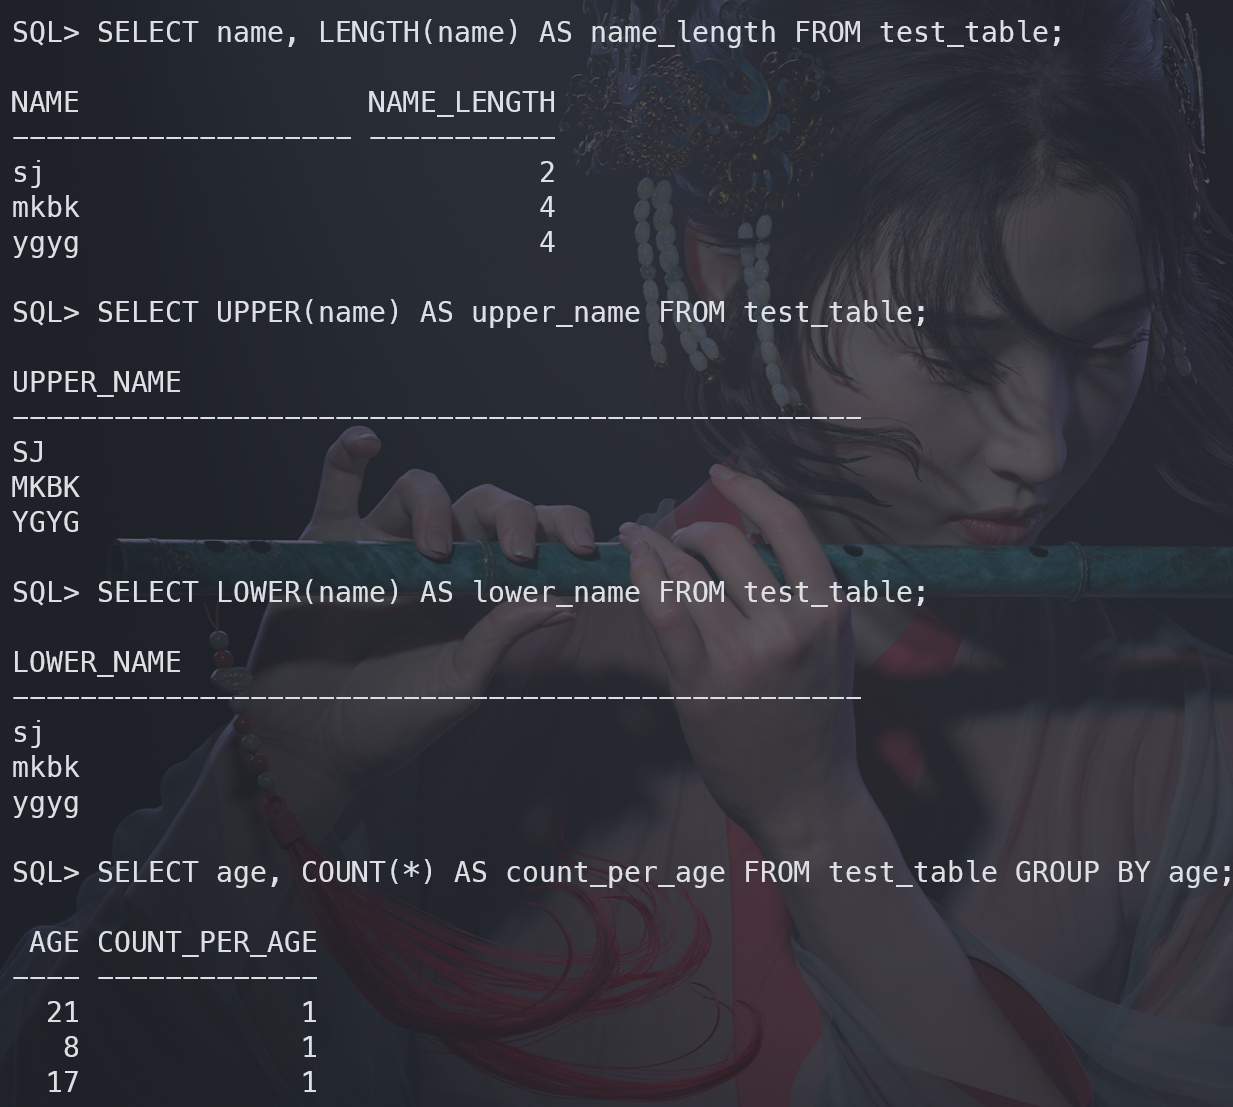
SELECT name, LENGTH(name) AS name_length FROM test_table; -- Name length
SELECT UPPER(name) AS upper_name FROM test_table; -- Convert name to uppercase
SELECT LOWER(name) AS lower_name FROM test_table; -- Convert name to lowercase
SELECT age, COUNT(*) AS count_per_age FROM test_table GROUP BY age; -- Group by age and count records
Dropping the table
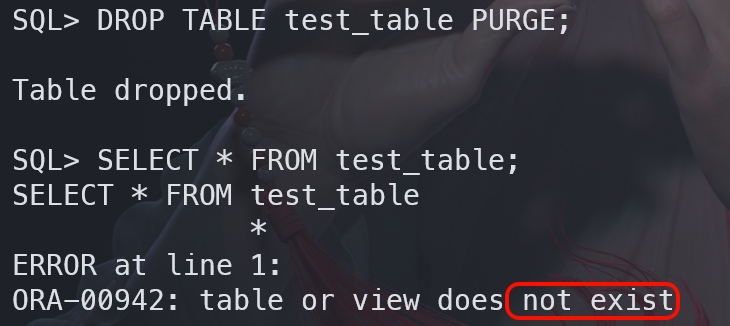
DROP TABLE test_table PURGE; -- Delete the table
SELECT * FROM test_table; -- Check whether the table still exists