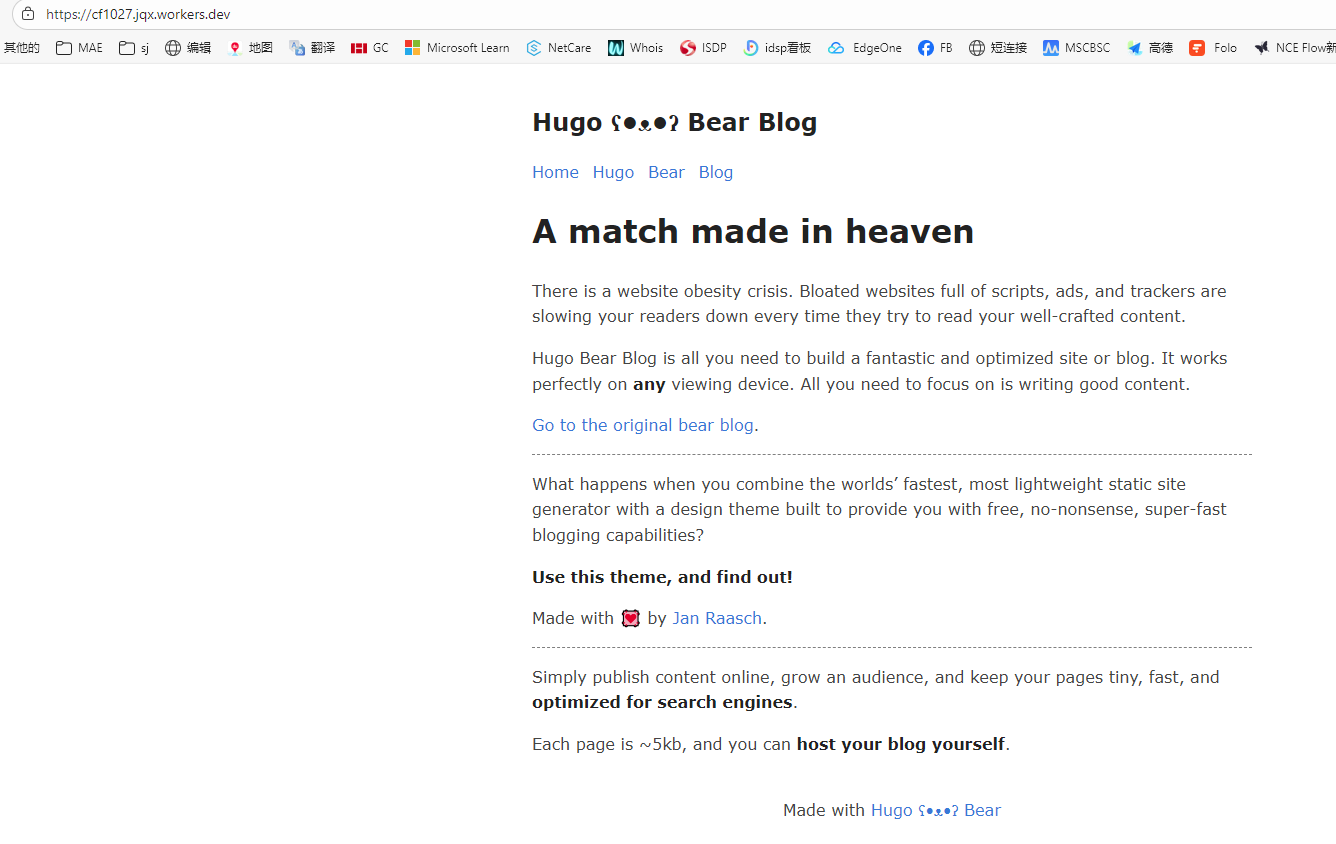
Cloudflare is steering static-site deployments toward Workers rather than Pages. The following walkthrough follows a Hugo site from a fresh private repository to a live Workers deployment.
Create the GitHub repository
Create a new repository on GitHub. It can be private, which keeps the project out of public view.
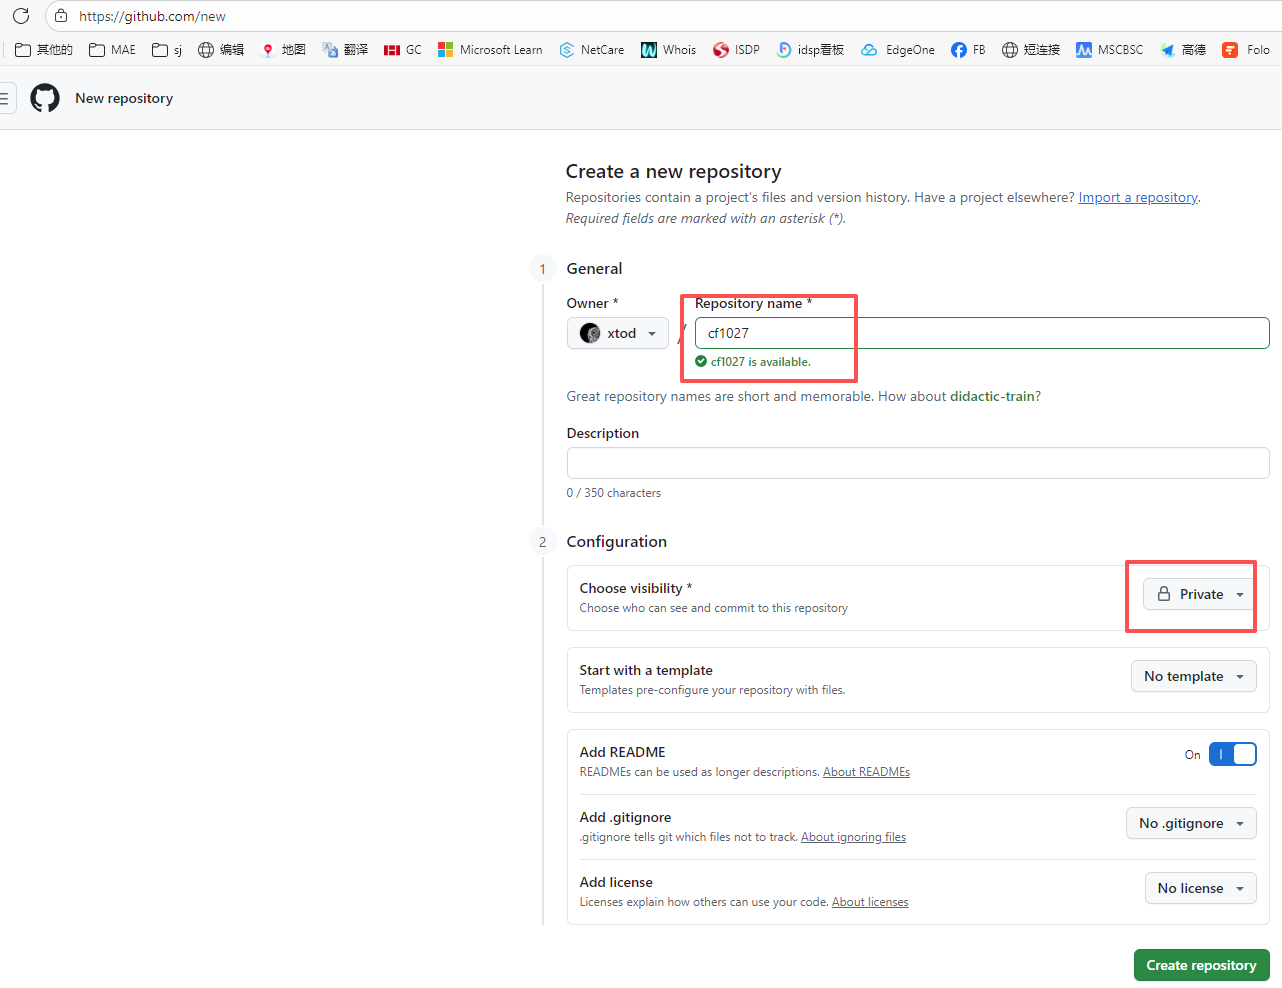
Clone it locally:
$ git clone [email protected]:xtod/cf1027.git
Cloning into 'cf1027'...
remote: Enumerating objects: 3, done.
remote: Counting objects: 100% (3/3), done.
remote: Total 3 (delta 0), reused 0 (delta 0), pack-reused 0 (from 0)
Receiving objects: 100% (3/3), done.
Install Hugo and create the site
Download Hugo from its GitHub releases page and install the build for your system. If GitHub is not reachable, the same version was distributed as a Windows ZIP and Linux tarball for hugo_extended_withdeploy 0.152.2; the access password for those packages was 3705.
Create the site inside the cloned repository:
# Enter the GitHub directory
$ cd cf1027/
# Create a new site named p
$ hugo new site p
Congratulations! Your new Hugo site was created in D:\githubs\cf1027\p.

Just a few more steps...

1. Change the current directory to D:\githubs\cf1027\p.
2. Create or install a theme:
   - Create a new theme with the command "hugo new theme <THEMENAME>"
   - Or, install a theme from https://themes.gohugo.io/
3. Edit hugo.toml, setting the "theme" property to the theme name.
4. Create new content with the command "hugo new content <SECTIONNAME>\<FILENAME>.<FORMAT>".
5. Start the embedded web server with the command "hugo server --buildDrafts".

See documentation at https://gohugo.io/.
# Move files to the repository root
$ mv p/* .
Choose a theme from https://themes.gohugo.io/ and install it. For this example, use hugo-bearblog: download hugo-bearblog-master.zip from https://github.com/janraasch/hugo-bearblog and extract it into \cf1027\themes\hugo-bearblog. The theme directory should look like this:
D:\githubs\cf1027\themes\hugo-bearblog>
├─archetypes
├─exampleSite
│  ├─content
│  │  └─blog
│  └─static
│      └─images
├─images
└─layouts
    ├─partials
    └─_default
Copy everything under \cf1027\themes\hugo-bearblog\exampleSite into the project root at \cf1027, then replace baseURL in hugo.toml with your own domain and save the file.
Preview the site locally:
$ hugo server
Watching for changes in D:\githubs\cf1027\{archetypes,assets,content,data,i18n,layouts,static,themes}
Watching for config changes in D:\githubs\cf1027\hugo.toml
Start building sites …
hugo v0.151.0-c70ab27ceb841fc9404eab5d2c985ff7595034b7+extended+withdeploy windows/amd64 BuildDate=2025-10
-02T13:30:36Z VendorInfo=gohugoio

WARN  Raw HTML omitted while rendering "D:/githubs/cf1027/content/blog/markdown-syntax.md"; see https://go
hugo.io/getting-started/configuration-markup/#rendererunsafe
You can suppress this warning by adding the following to your site configuration:
ignoreLogs = ['warning-goldmark-raw-html']

                  │ EN
─────────┼──
 Pages            │ 14
 Paginator pages  │  0
 Non-page files   │  0
 Static files     │  3
 Processed images │  0
 Aliases          │  0
 Cleaned          │  0

Built in 50 ms
Environment: "development"
Serving pages from disk
Running in Fast Render Mode. For full rebuilds on change: hugo server --disableFastRender
Web Server is available at http://localhost:1313/ (bind address 127.0.0.1)
Press Ctrl+C to stop
Open http://localhost:1313/ to check the result, and press Ctrl+C to stop the preview.
Push all changes to GitHub:
rm -rf resources/ public/ .hugo_build.lock
git add .
git commit -m "update"
git push
Create the Cloudflare Workers application
In the Cloudflare dashboard, create a new Workers application, choose to import a repository, authenticate with GitHub, and select the cf1027 repository. Use the settings shown below:
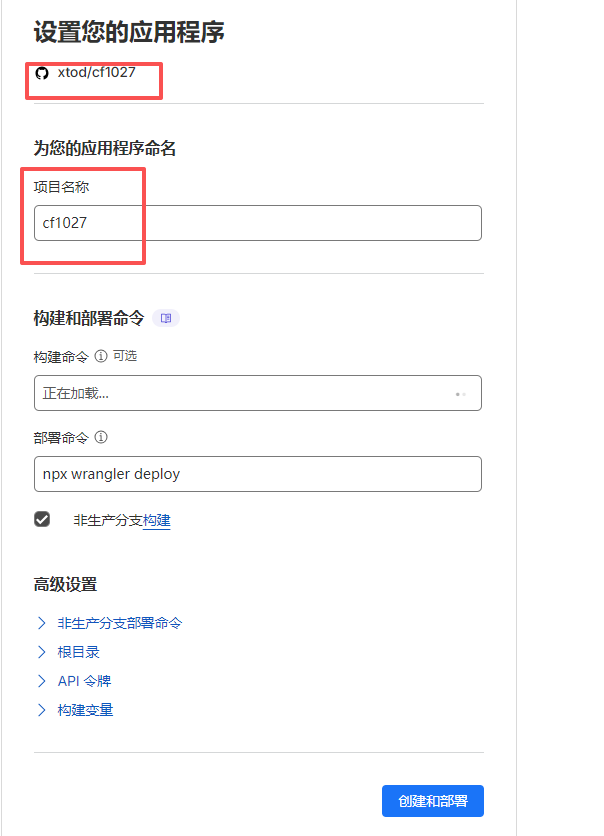
Click deploy. The first deployment will fail; that is expected. In the cf1027 repository, add a wrangler.jsonc file with the following contents:
{
  "name": "cf1027",
  "compatibility_date": "2025-10-27",
  "assets": {
    "directory": "./public",
    "html_handling": "auto-trailing-slash",
    "not_found_handling": "404-page",
    "run_worker_first": false
  },
  "build": {
    "command": "hugo build --gc --minify"
  },
  "workers_dev": true,
  "preview_urls": true,
  "observability": {
    "enabled": false,
    "head_sampling_rate": 1,
    "logs": {
      "enabled": true,
      "head_sampling_rate": 1,
      "persist": true,
      "invocation_logs": true
    }
  }
}
Save the file and push it to GitHub again. This triggers a new Cloudflare Workers deployment. The assigned domain appears under the Workers settings in Domains & Routes; the same area lets you attach a custom domain.