A cute little mascot finally showed up
Honestly, this Live2D mascot took a lot more effort than it might look like at first glance. I spent a bit over a week on it. That may not sound especially long, but for something that started as a small idea, it turned into a surprisingly time-consuming project.
At the beginning, I only planned to make the head move. Later on, I thought: if I am already doing that, why not turn it into a desktop companion too? Once that decision was made, I ended up adjusting and building other parts along the way as well.
The desktop pet side still needs work. The motions are not really finished yet, and I may not even have time to polish them soon, since things at home are still not fully sorted out on the network setup side.
Still, making a one-of-a-kind mascot for myself feels great. There is definitely a sense of pride and satisfaction in ending up with something unique.
How it came together
I am definitely not going to write out every single step in full detail, so this is a shortened version of the process.
Starting with the composition
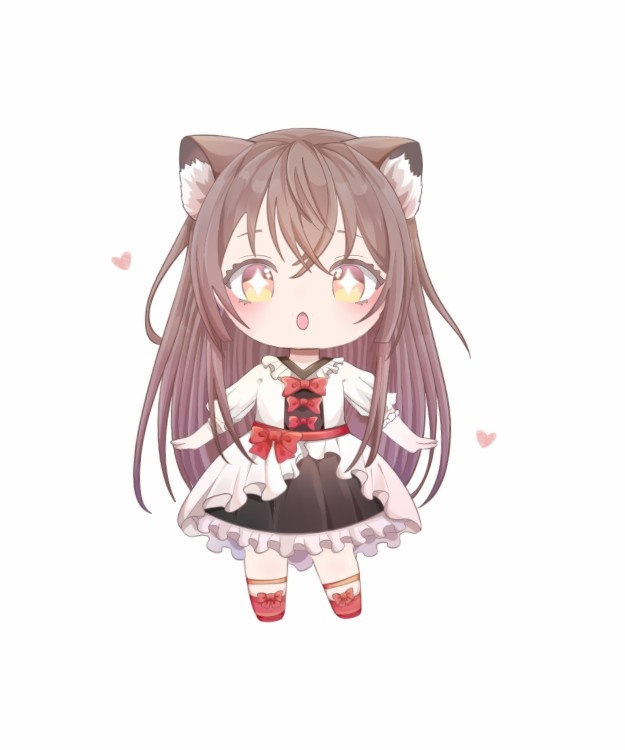
Everything starts with the composition.
If you are using material from the internet, then the first headache is cutting the character out properly.
After finishing that stage, it looked like this. Pretty cute, honestly. But at that point I had overlooked something important.
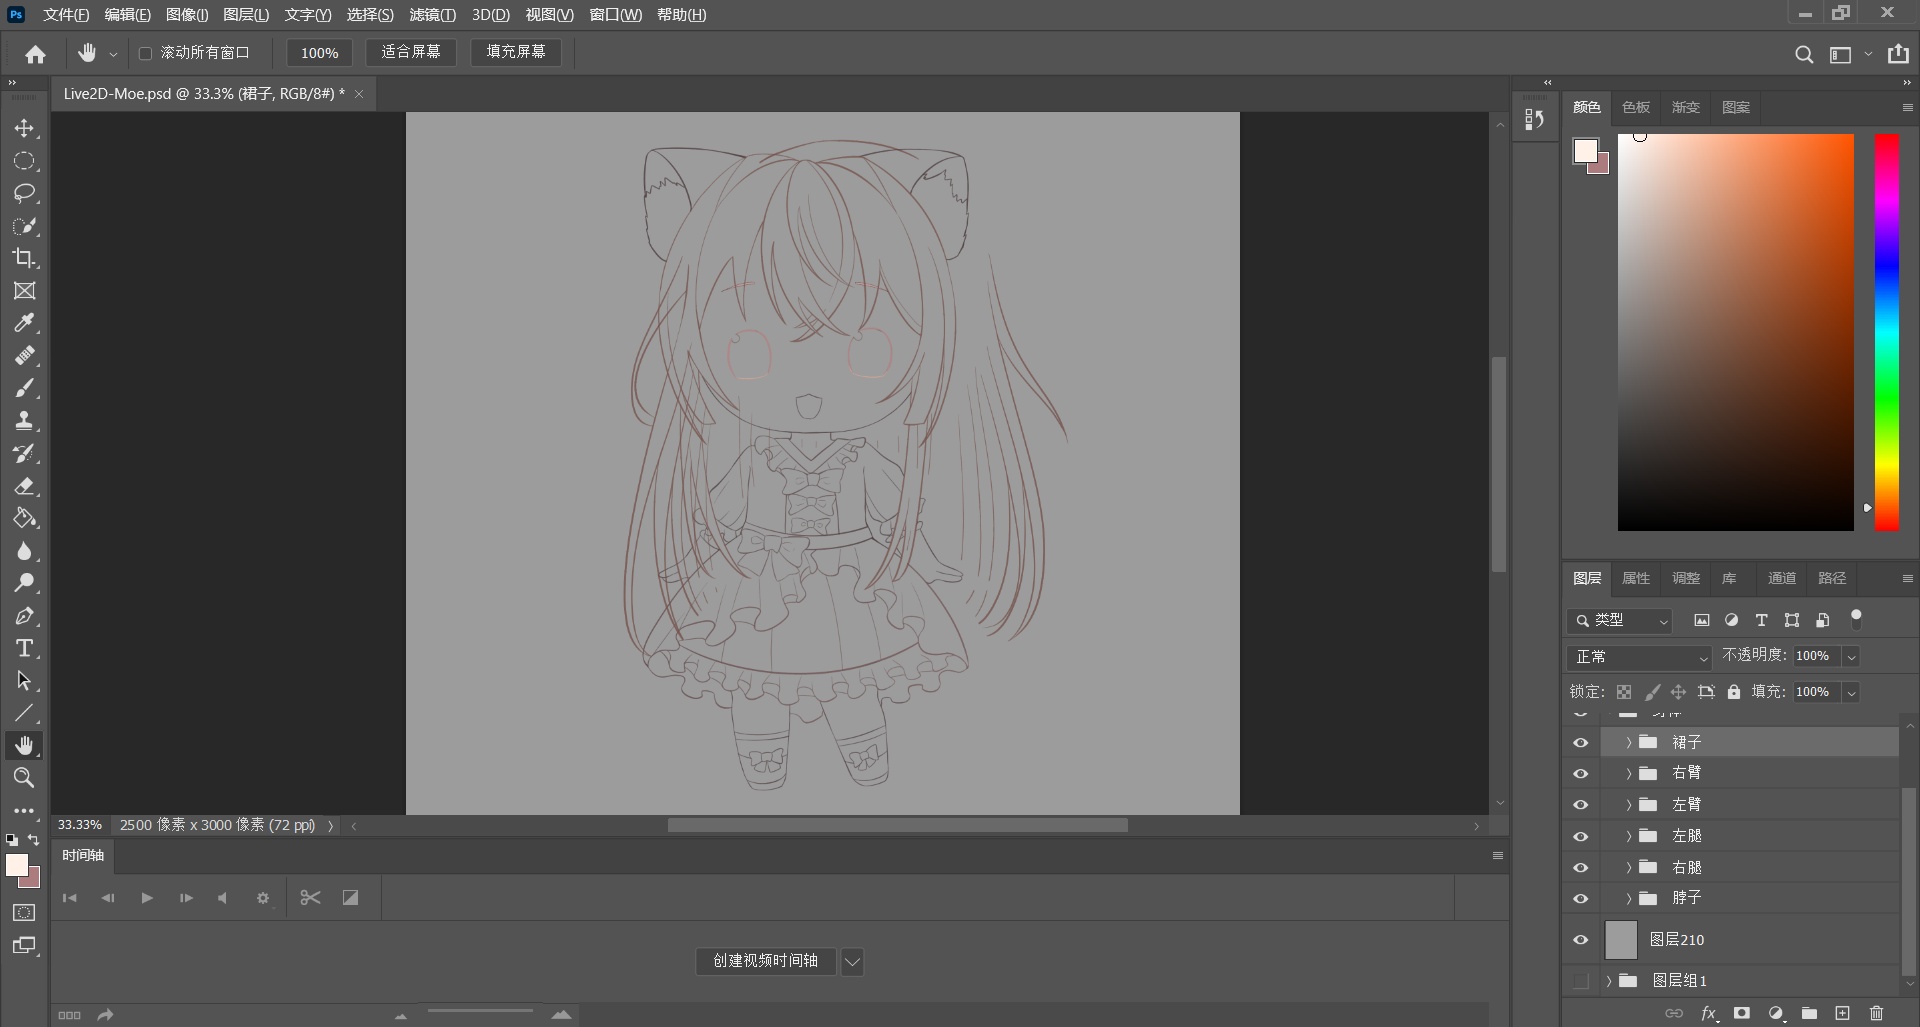
Before this, I had never watched any Live2D tutorials. I am the kind of person who tends to jump in first and figure things out later instead of reading instructions.
So I went looking around and started messing with Live2D more or less blindly. It was only when I imported the artwork into the software that I realized something was wrong.
A painful lesson: the layers were separated incorrectly.
Once the layers were reorganized properly, there was no turning back. At first I only meant to make something simple, basically just the head and eyes. But then I thought, since I had already started, why not go all the way and make it to desktop-pet standards? So that is the direction I followed from then on.

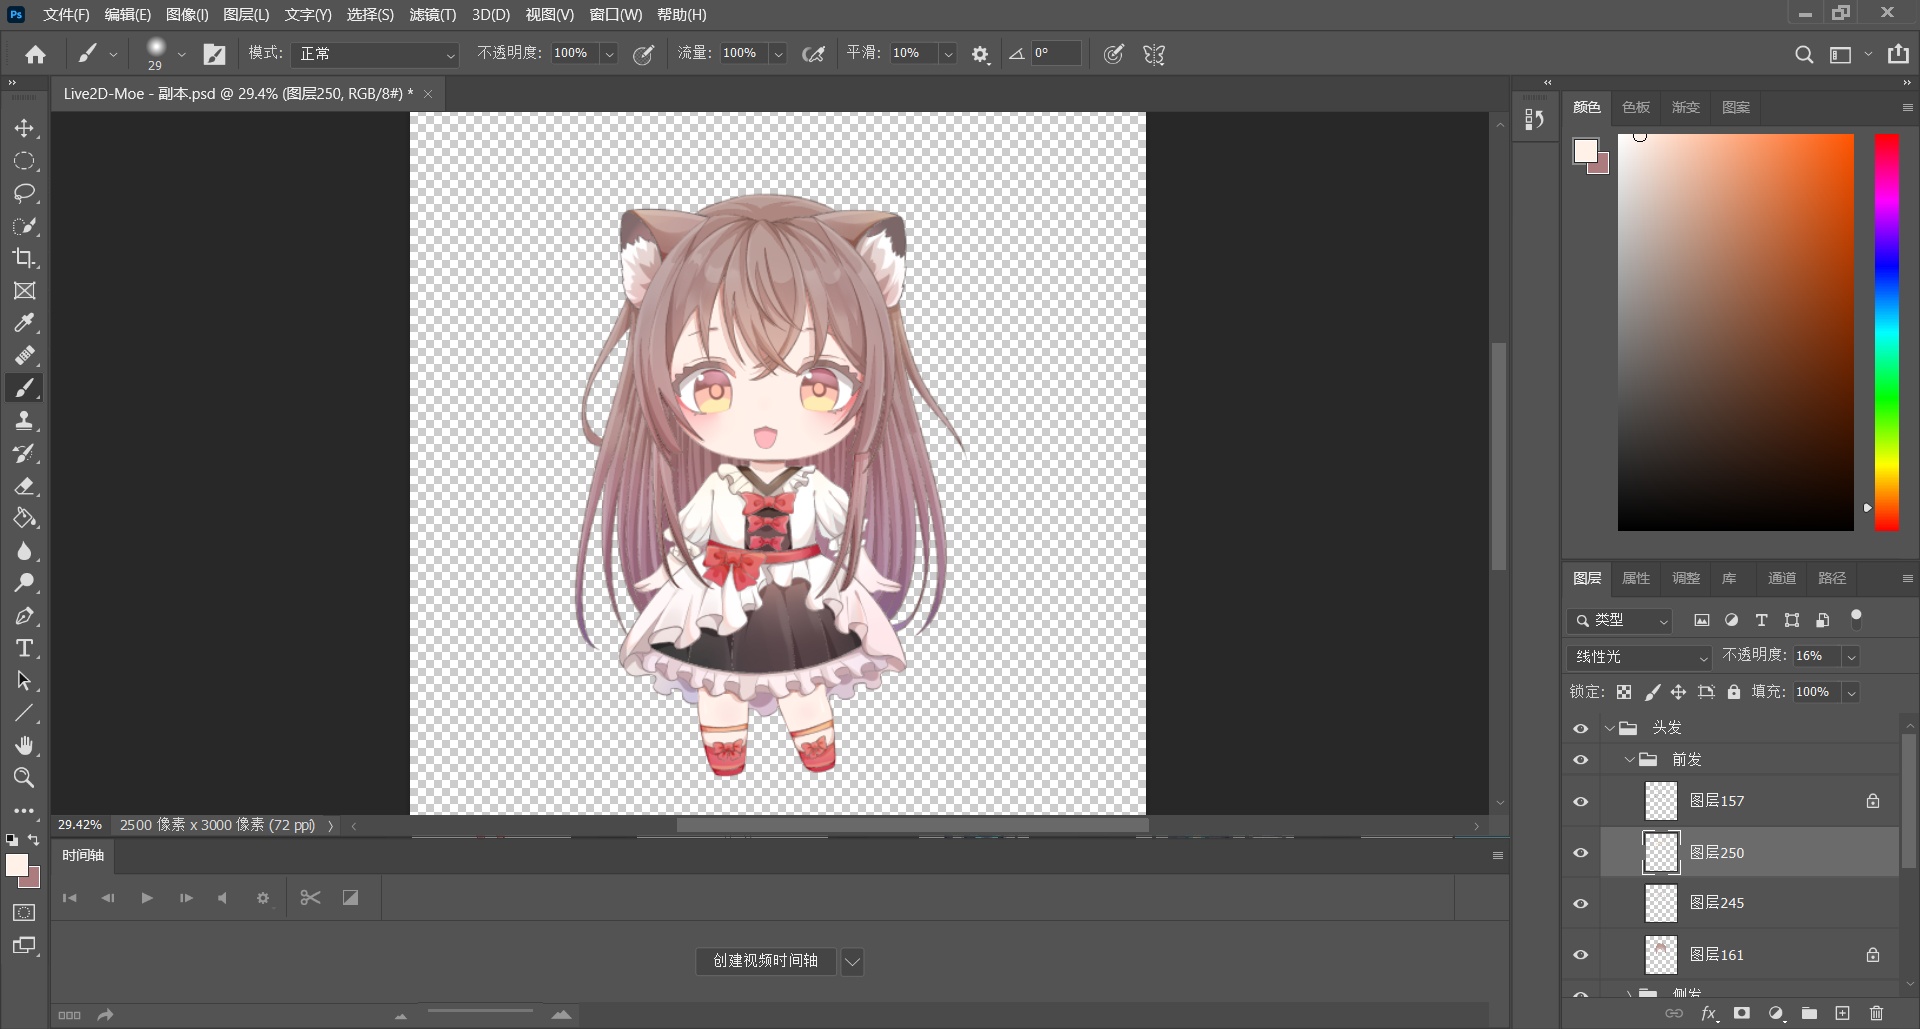
Setting up the API side
I only handled the model itself. The API side relied on work provided by others.
<table> <thead> <tr> <th>Person</th> <th>Blog</th> <th>Role</th> </tr> </thead> <tbody> <tr> <td>fghrsh</td> <td>www.fghrsh.net</td> <td>Backend API support</td> </tr> <tr> <td>stevenjoezhang</td> <td>stevenjoezhang</td> <td>Frontend API support</td> </tr> </tbody> </table>So yes, my part was really the model-making side.
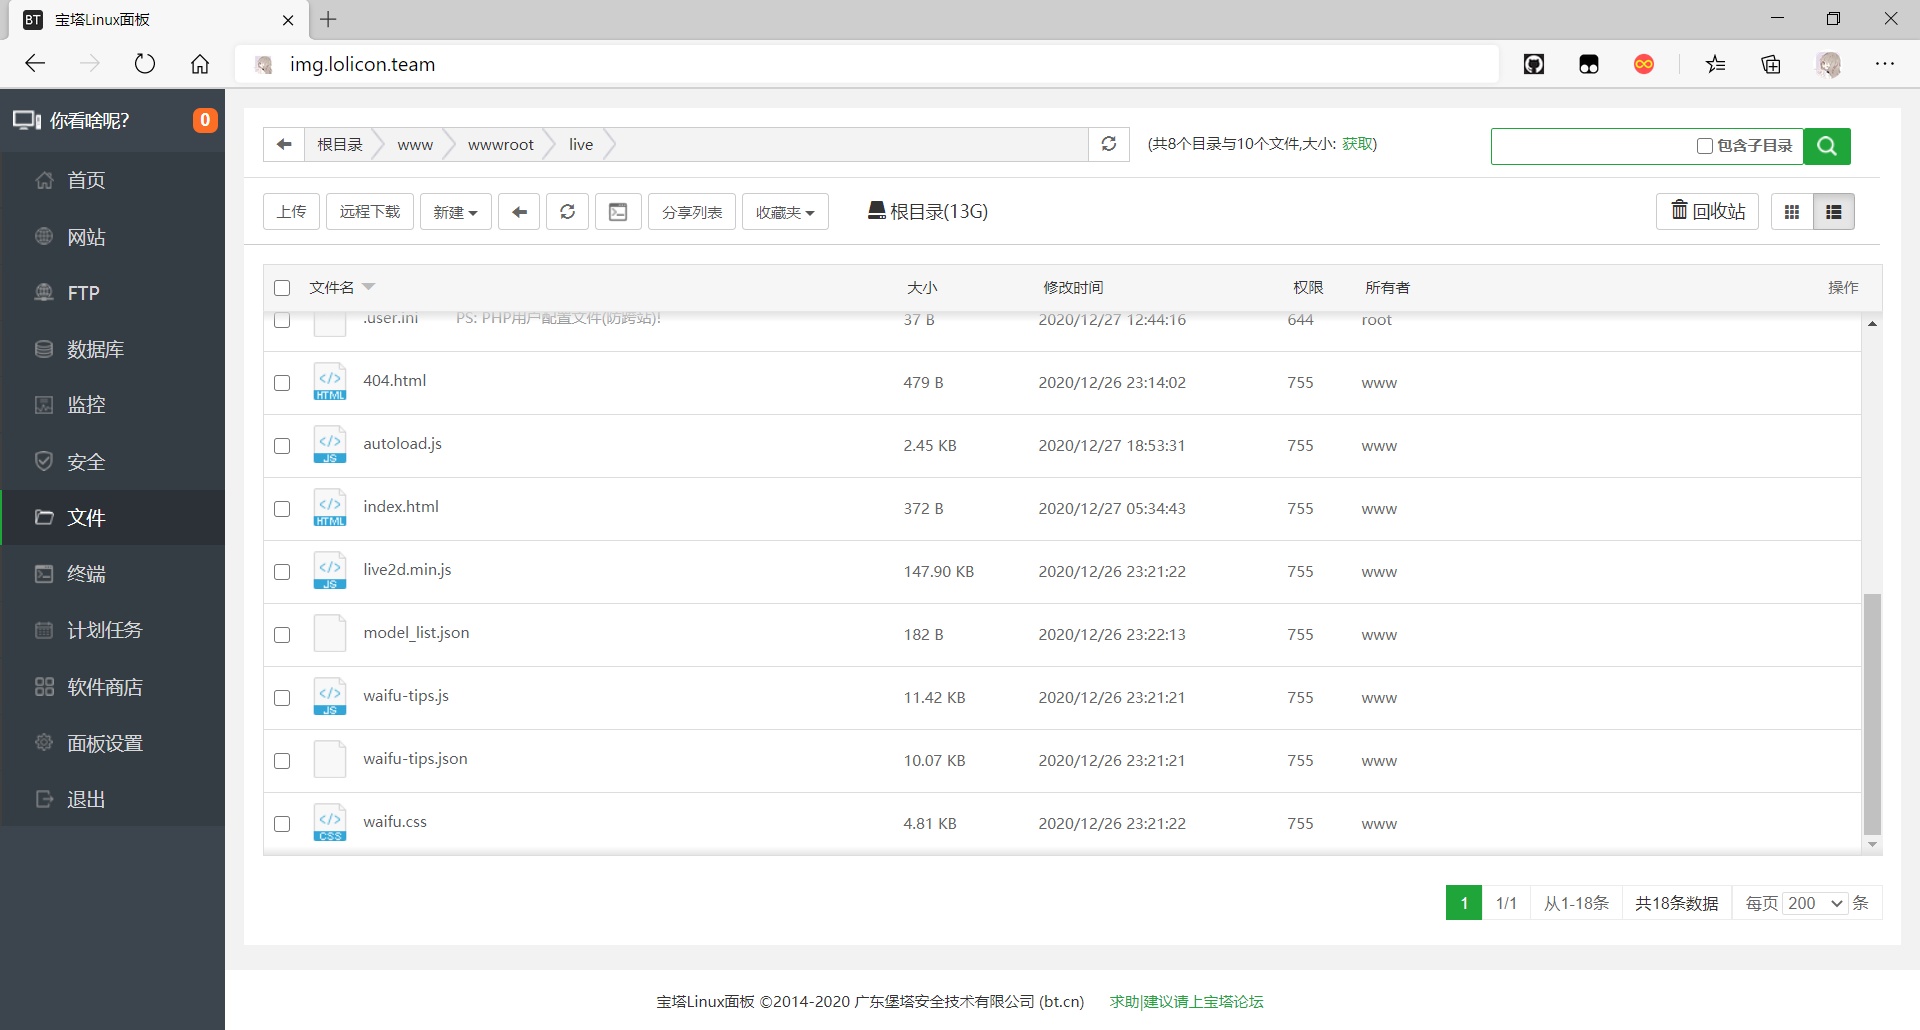
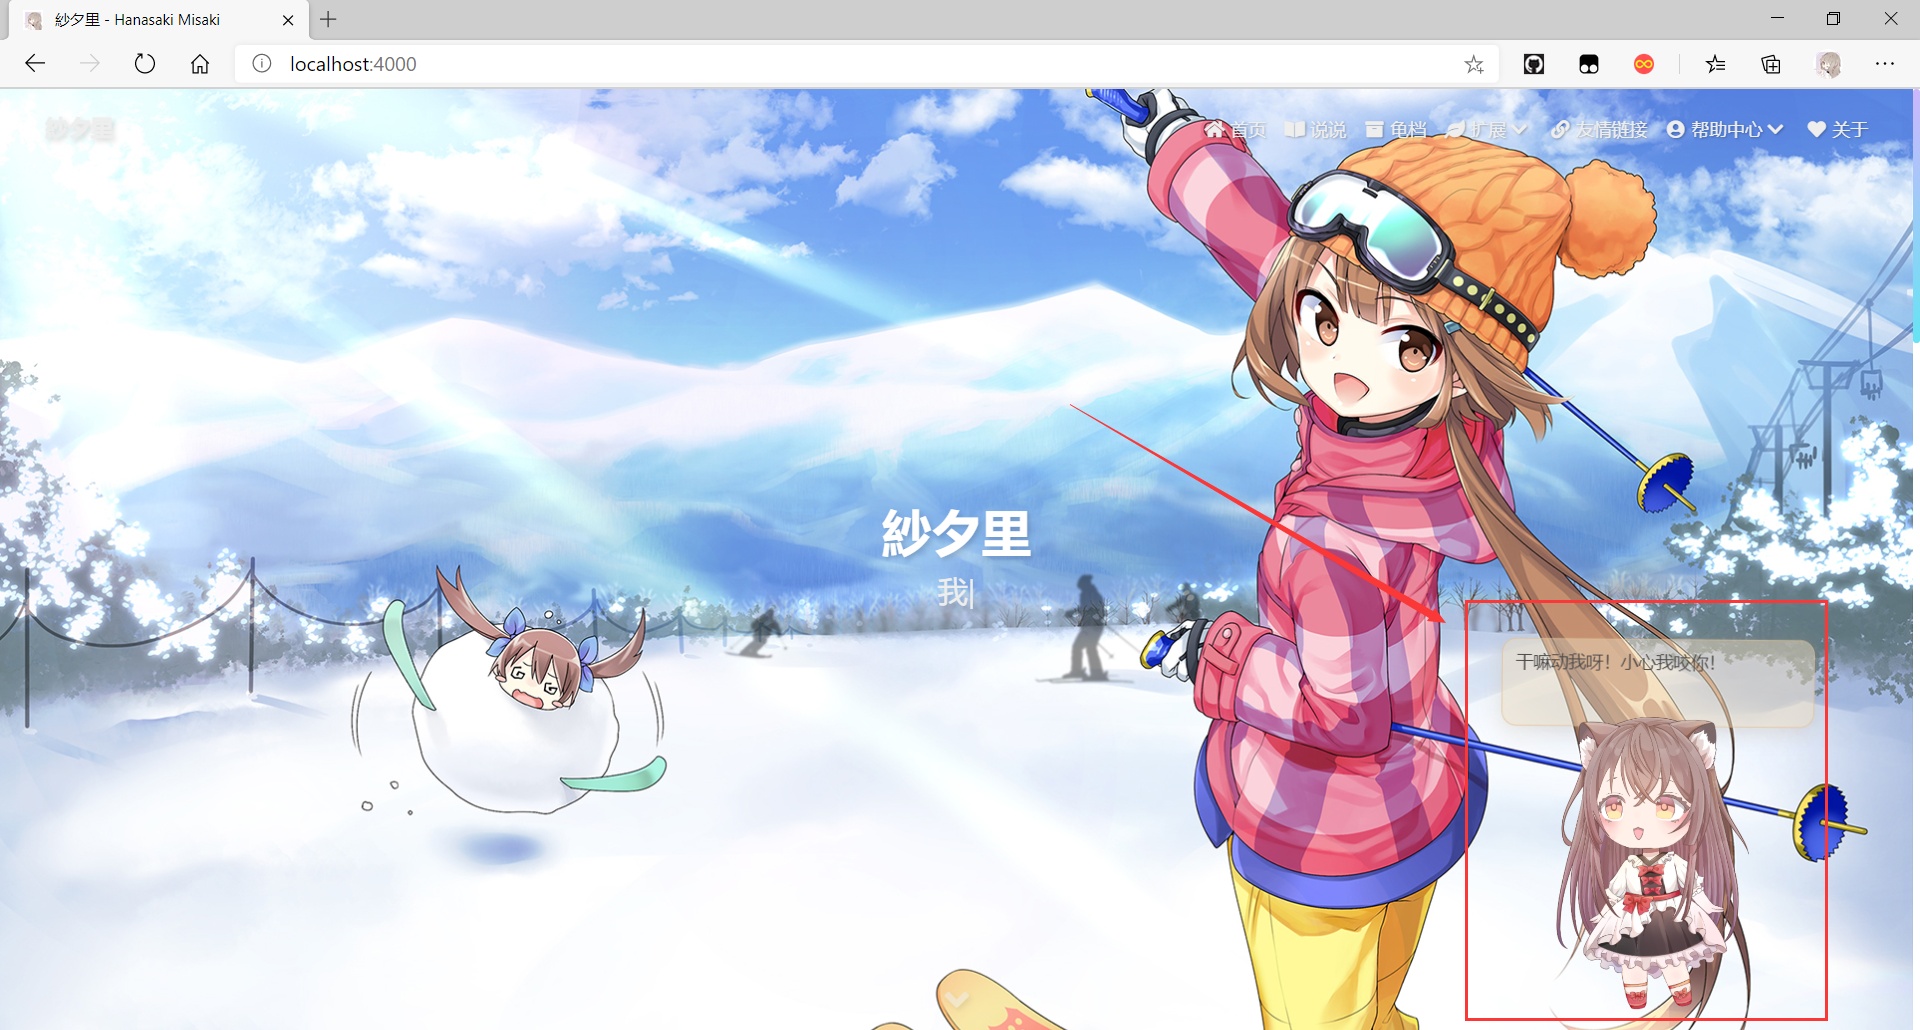
And with that, the setup was done.
By the end of it, I was exhausted. This little mascot was much more work than I expected.
There are also Live2D help resources out there for anyone trying to make one themselves.