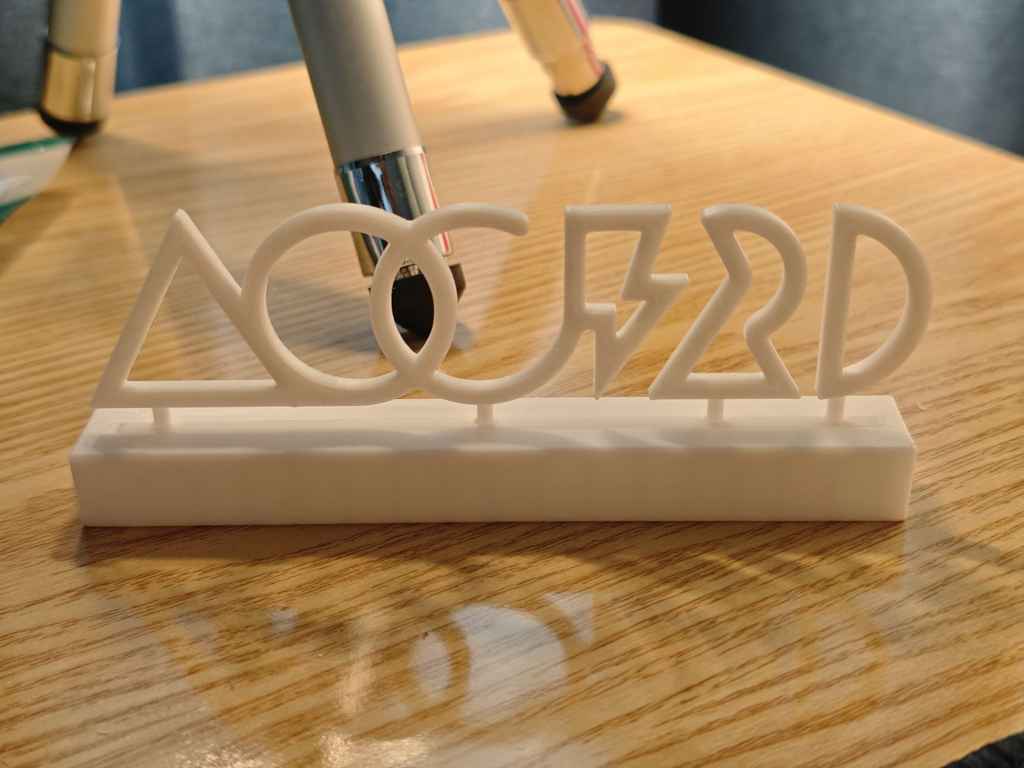
The A1 showed up bigger than I expected. Assembly was straightforward: cut the zip ties, pull out the foam, follow the official video for the feed tube, and the rest is ready to print. Before the first print, though, remember to pick the material type and run the filament feed.
I started with the usual hello world.

Software
After printing a few models from the app, I wanted something custom: a stand-up sign for my online ID. Bambu's software can add text, but beyond that it mostly handles slicing and device management.
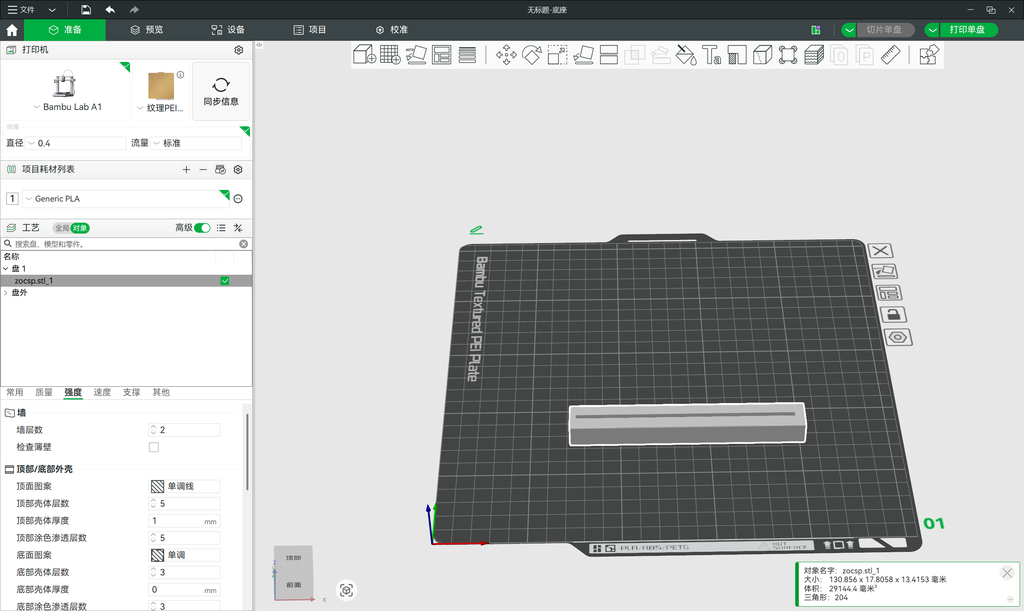
It imports most models. For modeling, Fusion is the usual choice for industrial design and Blender for general modeling. Fusion tends to be better for solid modeling, but I have some Blender experience, so I went with Blender.
Design
Designing text in Blender is awkward. Since the text was flat anyway, I designed it in Figma first.
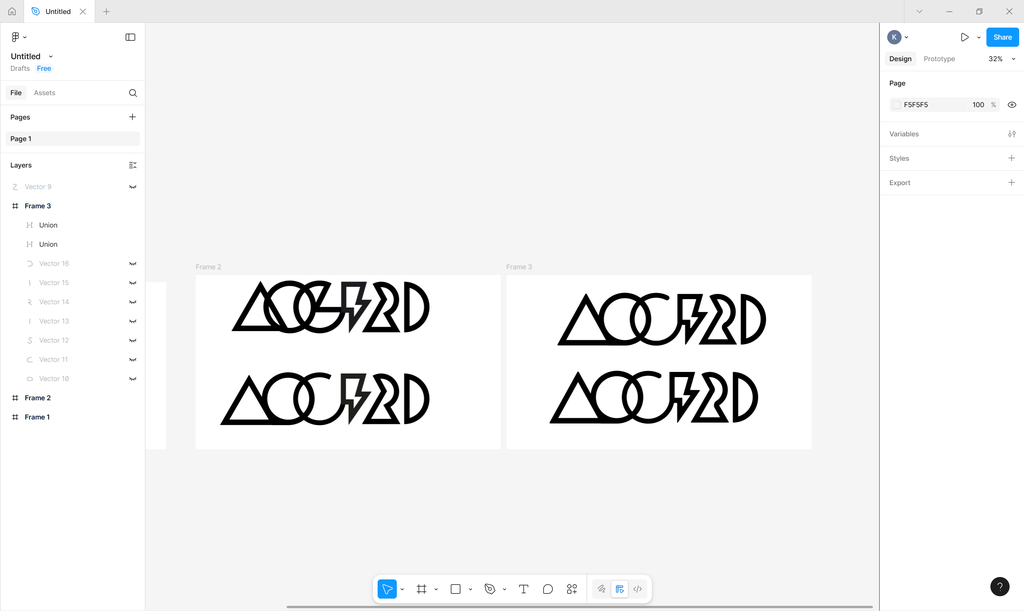
I built the shape out of various shapes, then exported it as SVG. One caveat: Blender can import SVG, but it works best with pure shapes. The SVG coming out of Figma seemed to carry boolean operations and other data along, which made the imported result look strange. My workaround was to select everything before exporting, apply a boolean, then flatten it into one shape.
Modeling
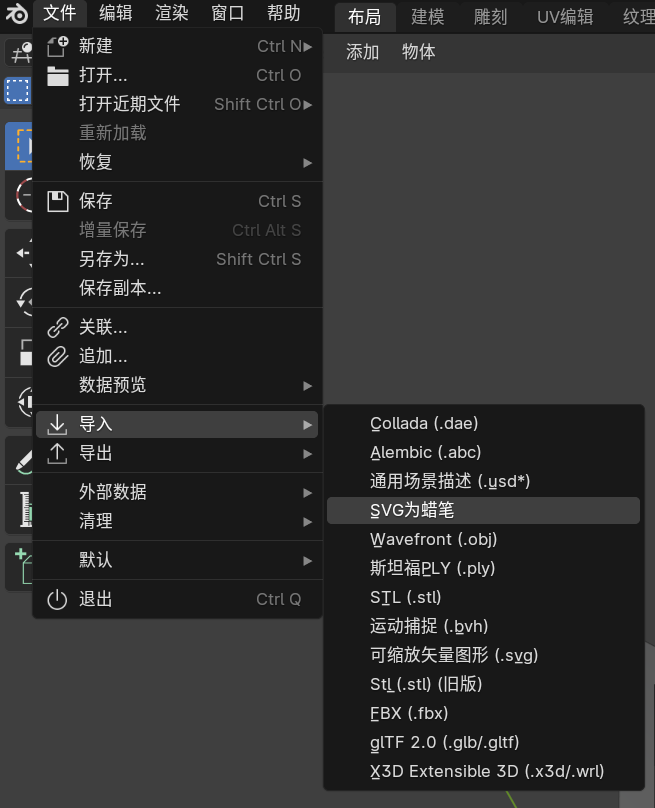
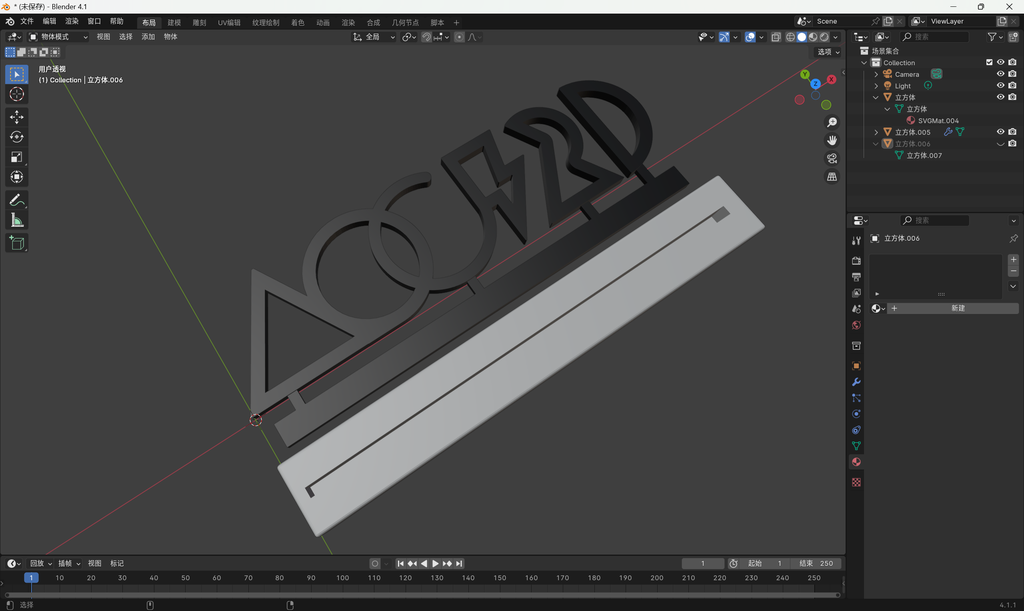
File -> Import -> SVG -> import as grease pencil.
I split the sign into two printed parts. That reduces the effect of layer lines, and it keeps the fragile supports from breaking when removing supports.
For the graphic: convert it to a curve, go into edit mode and extrude it into a solid, add a base, add a few supports, then merge. For the base: make a rectangle, bevel it, bring over the base from the graphic, and boolean the two together, making the slot a little bigger (otherwise it probably won't fit). Then export the model as .stl.
Slicing
After importing into the slicer, I split the model into objects and then merged it into two parts: the graphic and the base.
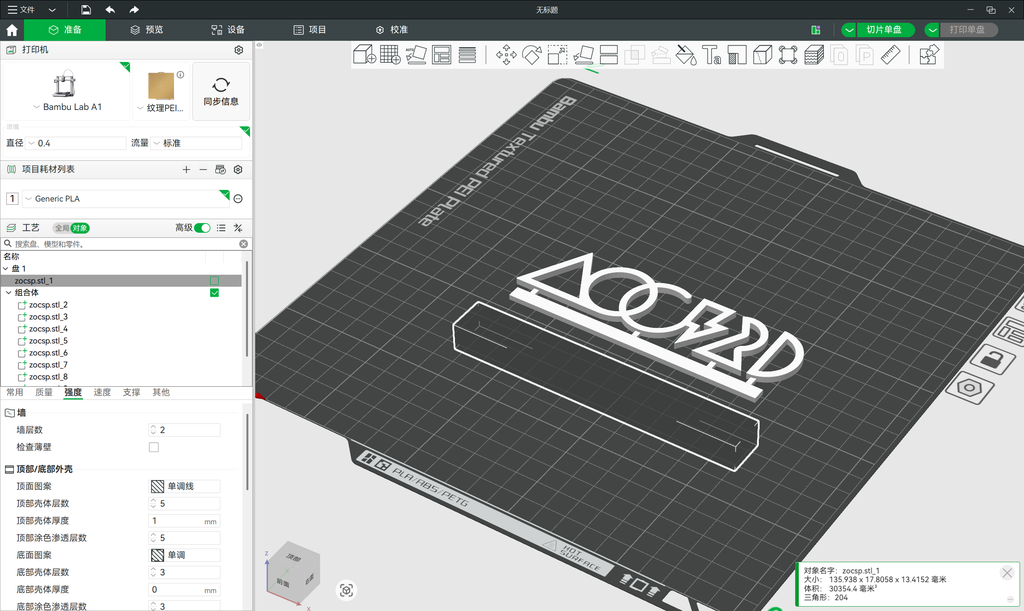
The shapes are simple, so no supports were needed. I sent it straight to the printer.
Assembly
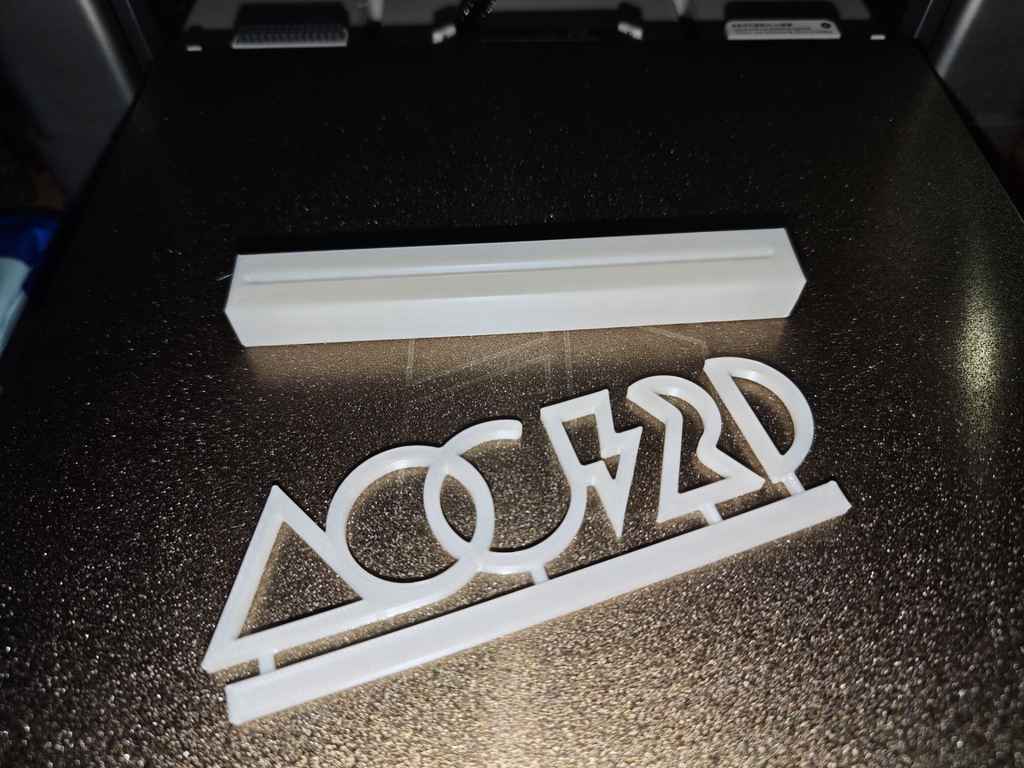
Since I hadn't designed a physical part before, I sized the slot in the base by feel and only gave it a tiny bit of extra room. That still made installation a struggle, and it's nearly impossible to take apart now—which is probably for the best.
Finished
The result looks decent. A smooth landing.